

Hello everyone!
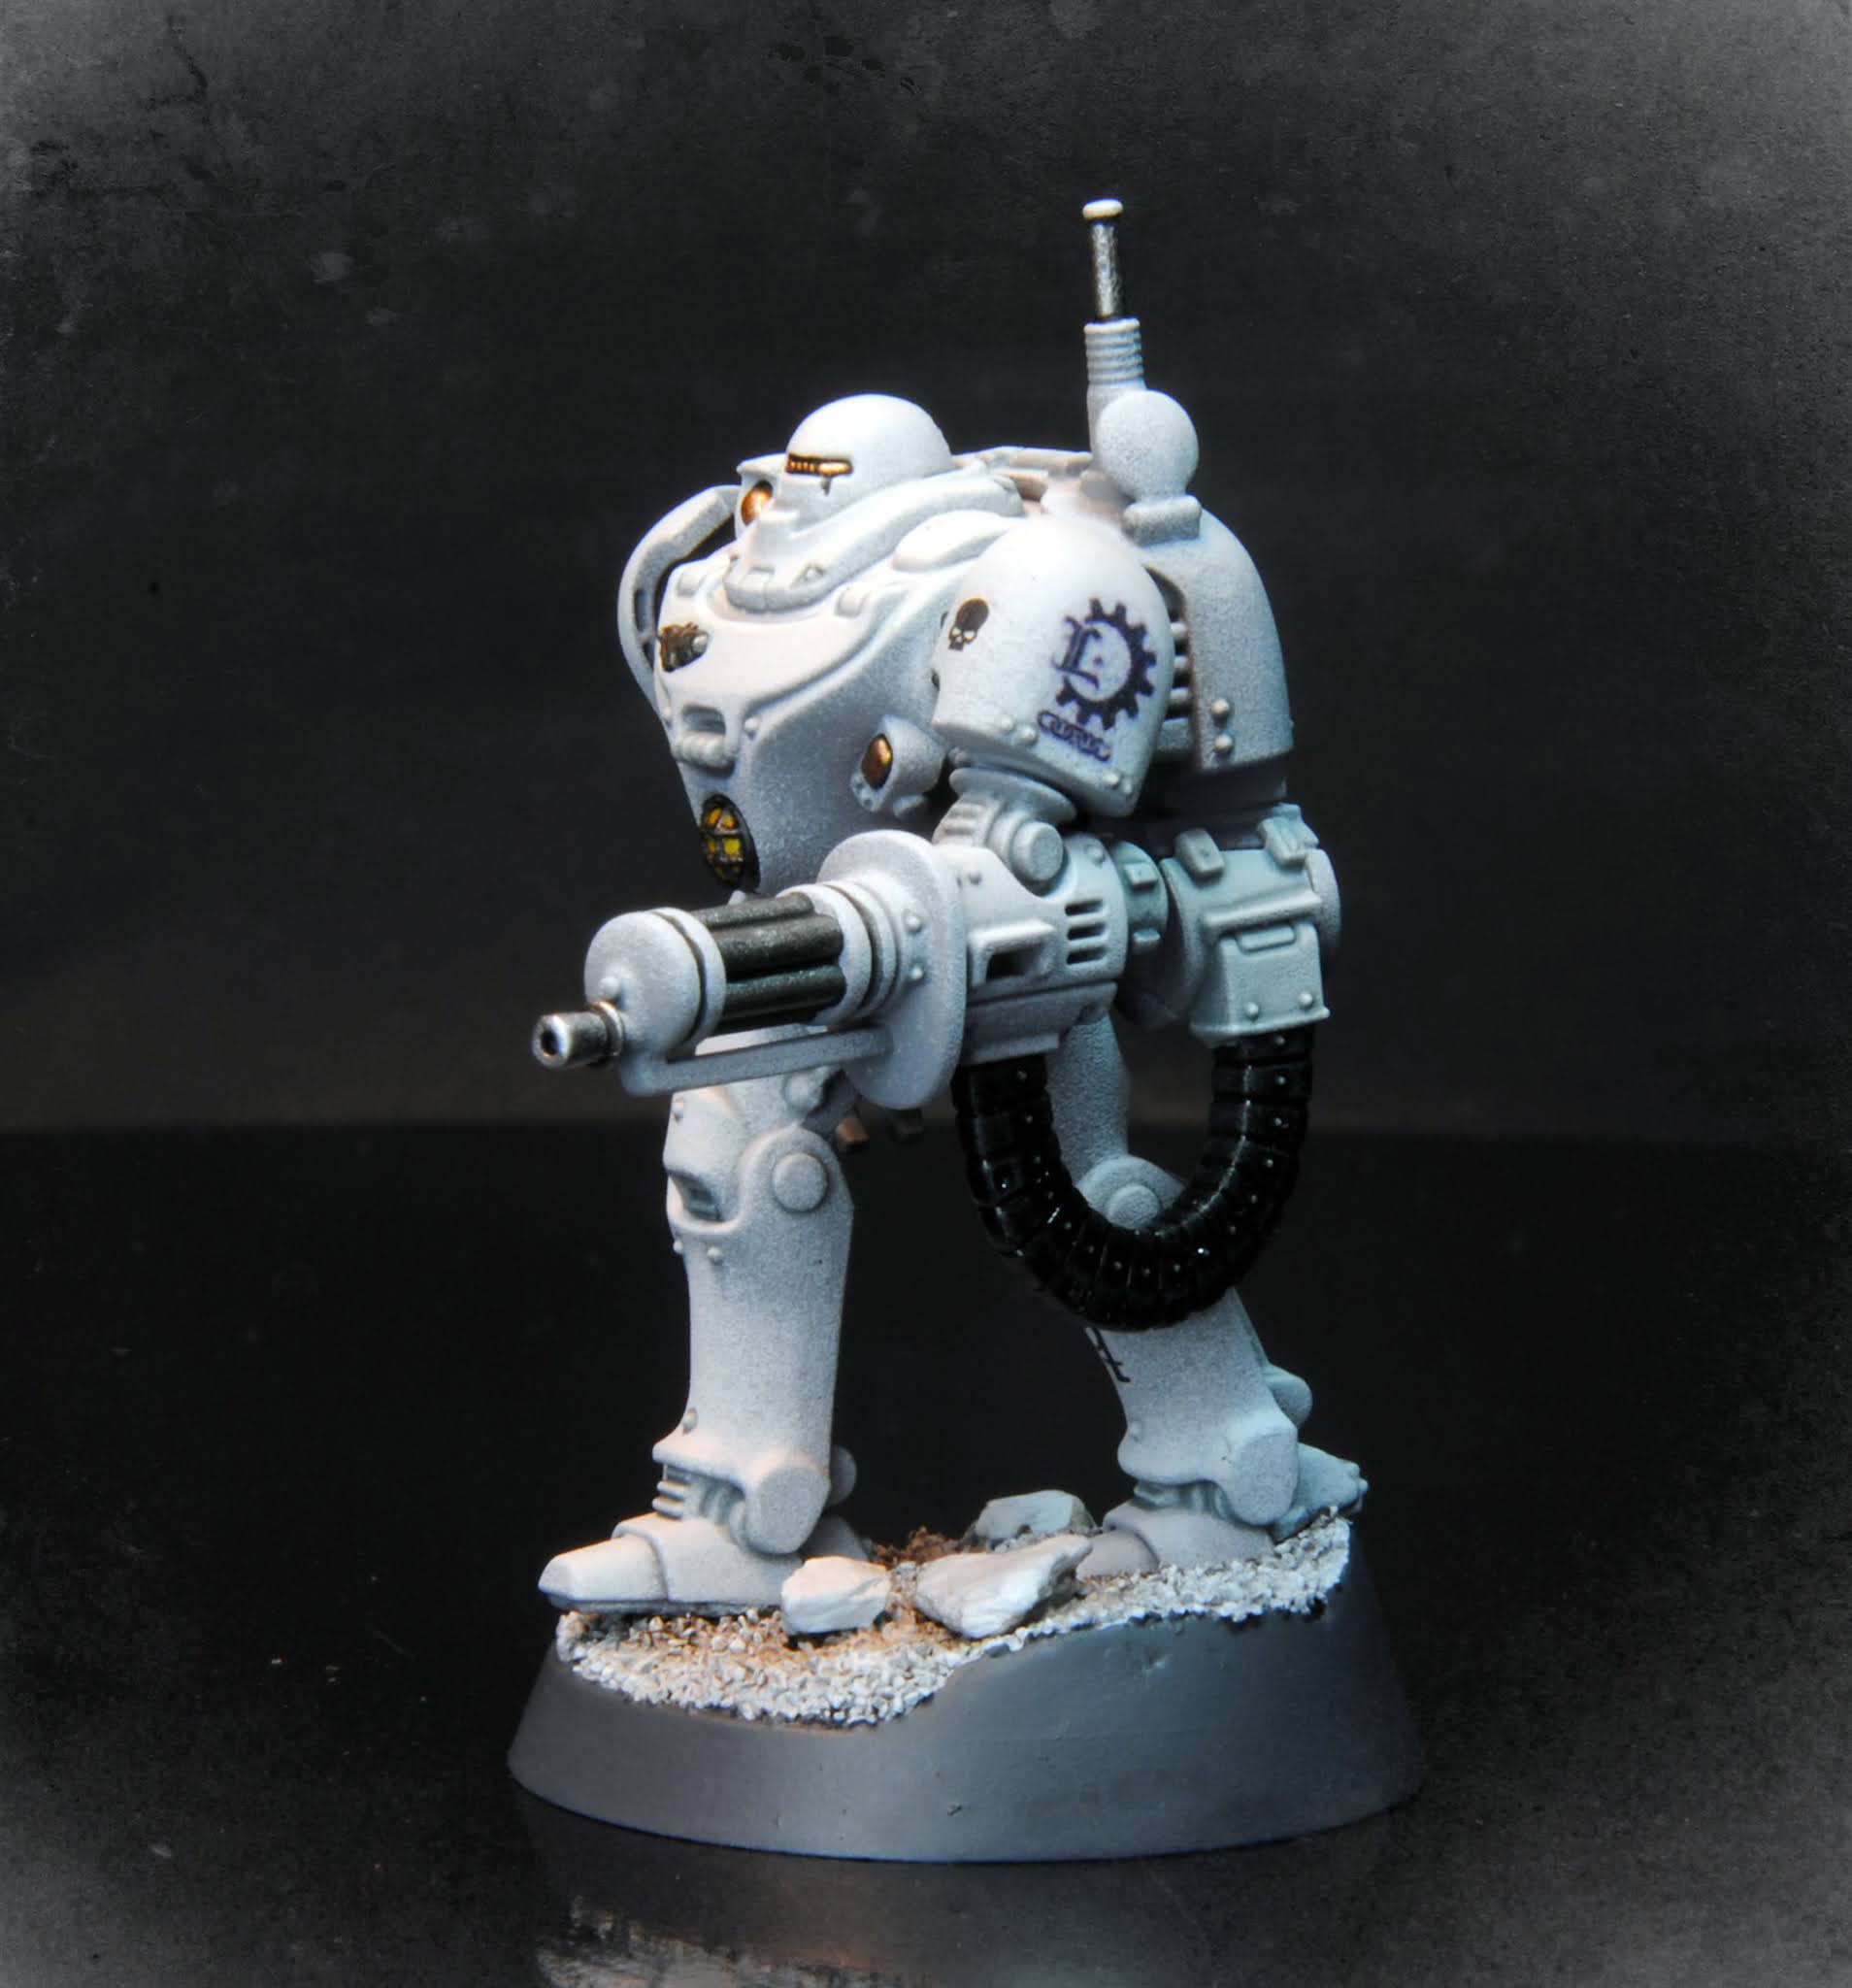
I am back with a second robot for the Luna Cohort: the Imperial Robot from Blackstone Fortress.

This time, we'll have a look at the colours and techniques I used, since you all got the ins and outs of this project reading the previous article.


First of all, a disclaimer: you will not be amazed by the techniques, since everything is super basic and could hardly be simpler. You have been warned!
The picture above shows the colours I have used, a very restricted palette as you see, which makes sense for some very monochromatic models I guess.

The painting process starts with an undercoat of the grey primer spray. This brand is good (that's the one I use at work), but many others do the job equally. Then I spray the model from the very top with Corax white, letting the white cloud do the gradiance job and cast light on the model.
What is particularly fitting for my lunar environement is that this dual spray technique is always a bit powdery, and on top of doing an instant highlight, it looks a bit like the model is covered with moon dust.

The next stage is to circle the rivets, panel line and deepest recesses with Apothecary white, very much using it as a lining tool to add a bit of definition in a subtle way,
I also block some areas with the same colour, like knee and elbow joints, back leg machinery... This is just to have two tones of white, so the model doesn't feel overly monochromatic.


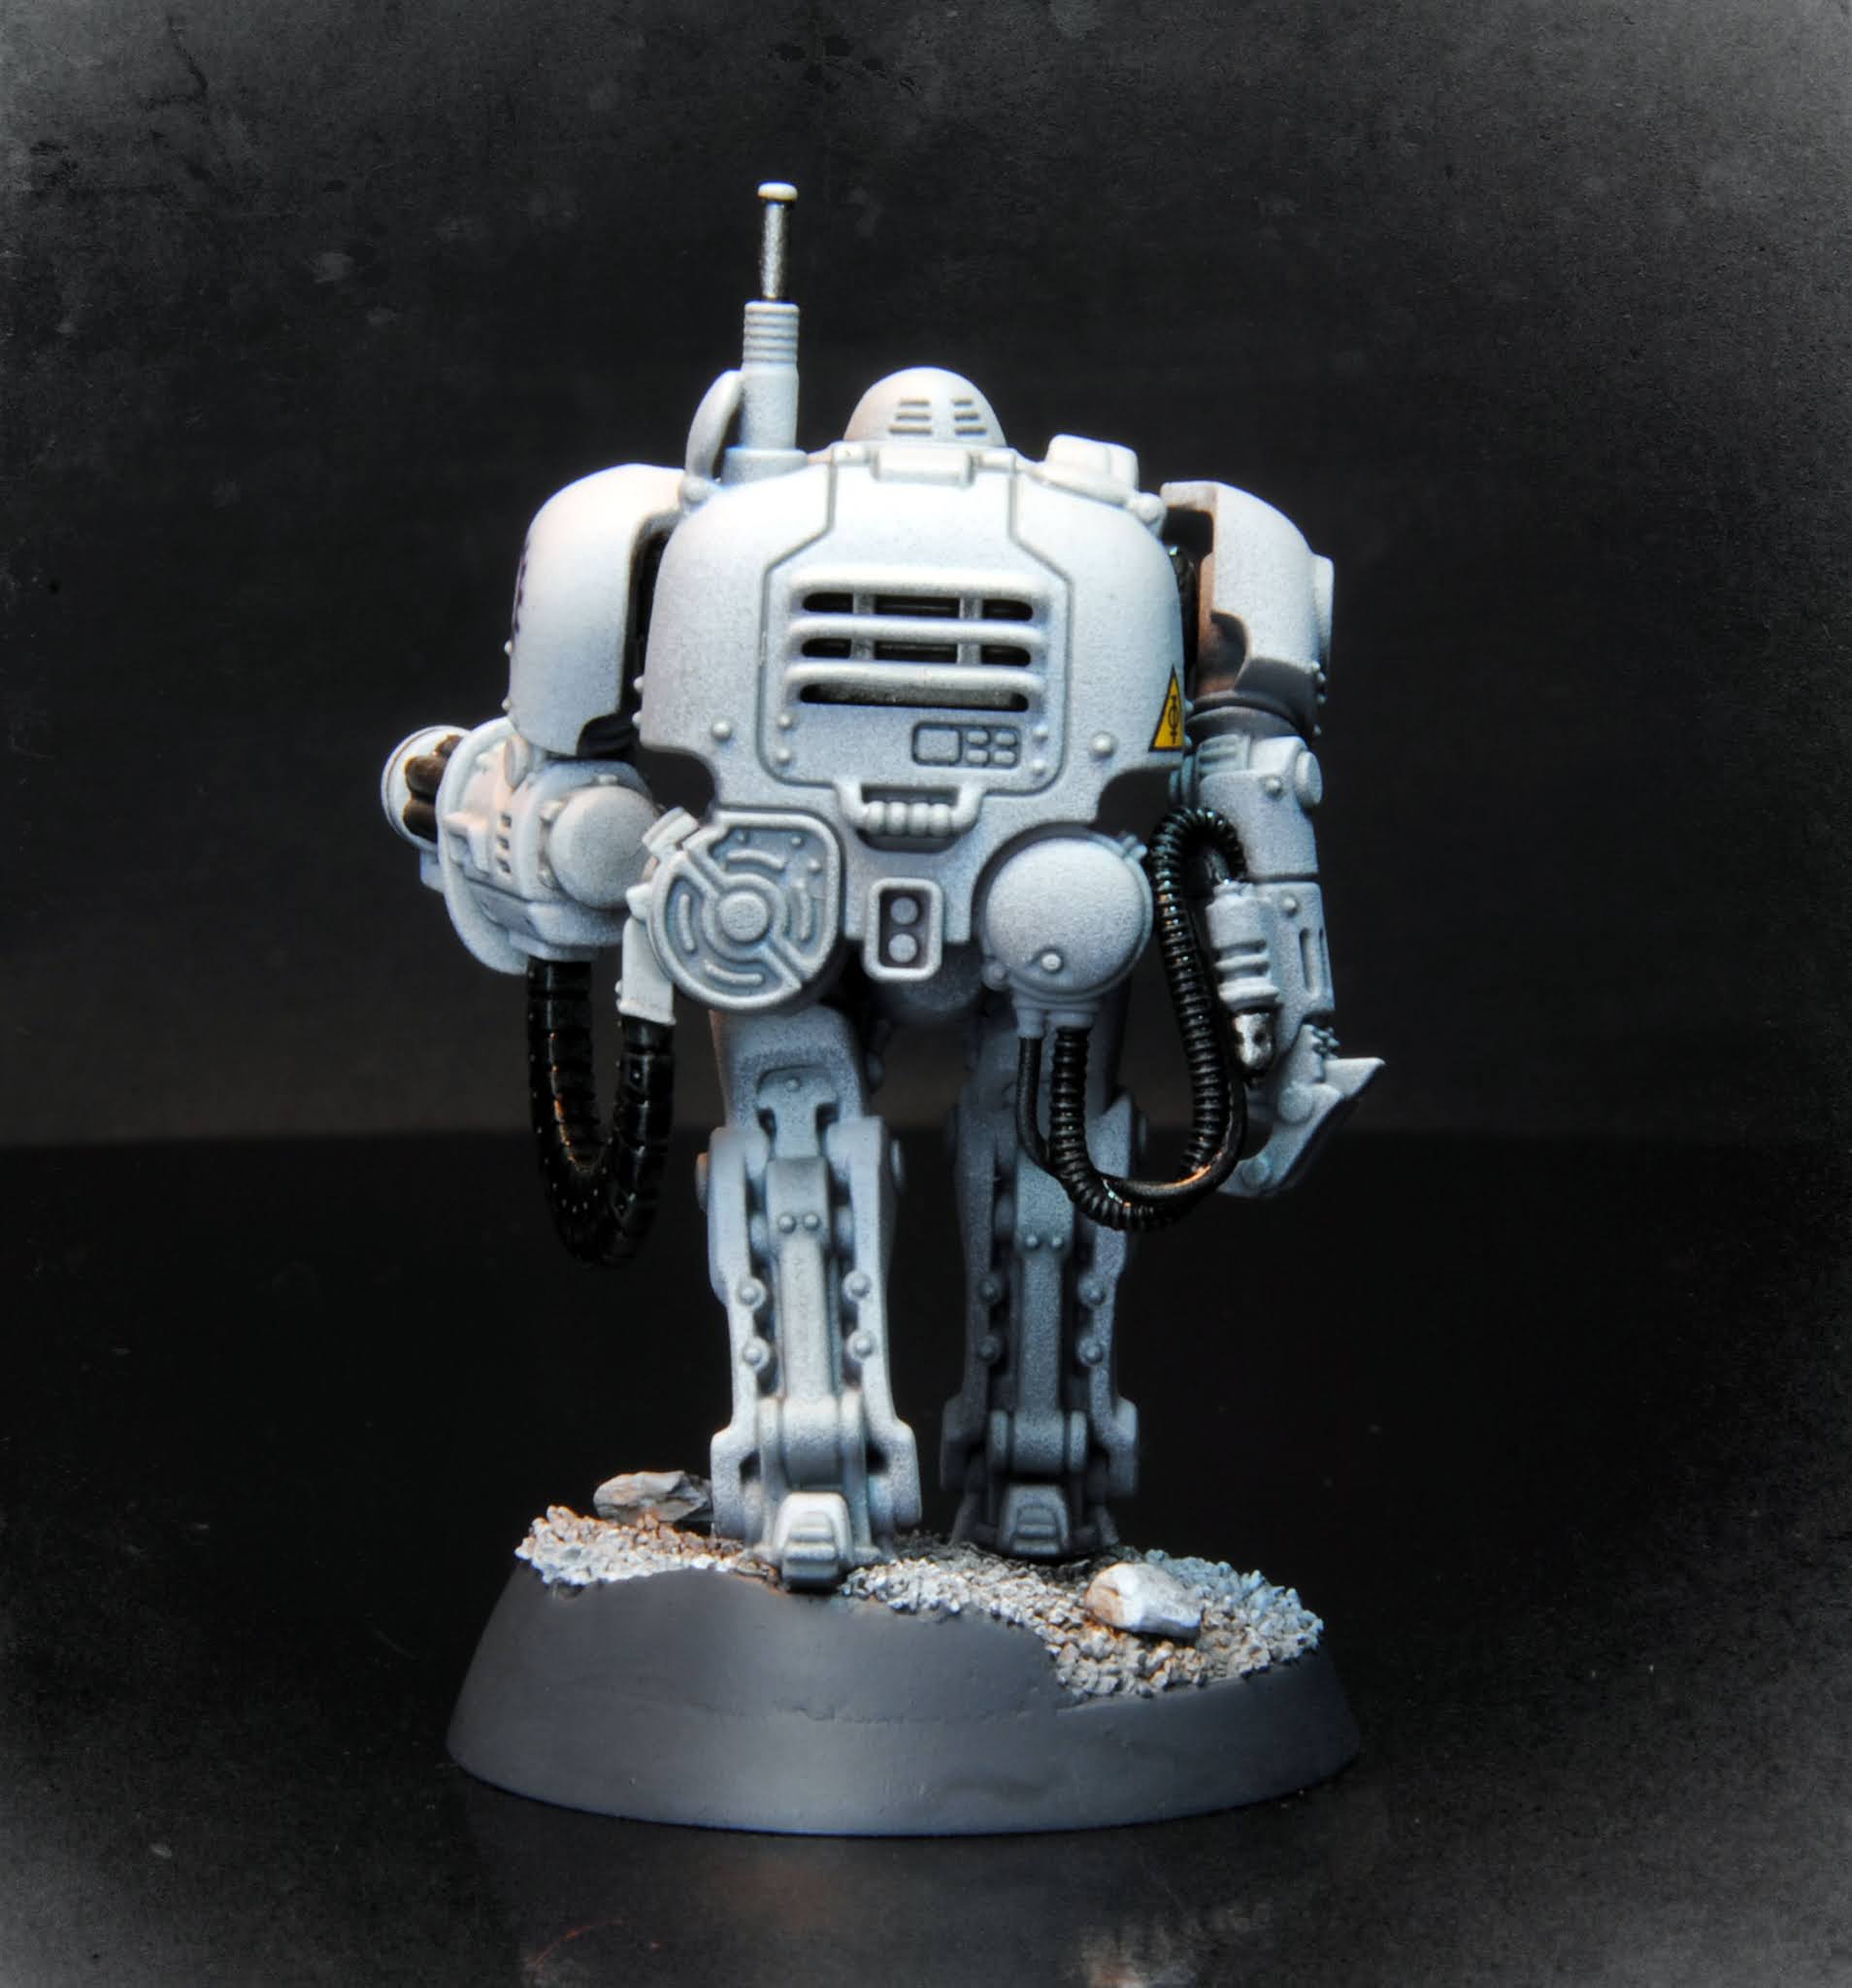
From there, I block all of the areas I want to paint in metal with Black Templar. This is to add a lot of contrast and definition. I also select some areas to be black, generally shoulder and hip joints, but also the ammo belt in the case of that robot. And the pipes.
I then paint some parts in Sycorax Bronze, some in Leadbelcher, some in Plate Mail Metal... The model shows pretty well where the colours are deployed I believe...
For this stage I make sure to leave the recesses in black to keep the definition.
For this stage I make sure to leave the recesses in black to keep the definition.
When it is all dry, I apply a coat of 'Ardcoat gloss varnish on the black bits.


It is now time for the transfers, which I apply straight onto the model. When I am sure they are dry, I then put a few thin layers of Stormshield mat varnish to protect the transfers and have a similar mat finish all over the model.
The model is ready to explore the cold wastelands of Luna!

The next model will probably be another Kastellan Robot, with the fists this time so he has a different silhouette from the first one.
Please ask if you have any question about that painting process, and don't hesitate to drop a little comment ;)
Cheers,

Comme annoncé dans le "disclaimer" tu as utilisé des techniques simple, mais je trouve que ça se prête bien à tes objectifs.
RépondreSupprimerAu-delà de la thématique lunaire, qui est parfaitement atteinte à mon sens, je trouve que surtout sur cette 2eme fig' il y a aussi un aspect "astronaute" qui se dégage. Et je trouve aussi que ça colle bien :-)
Tu aurais la référence de ta feuille à faire les transferts par hasard ?
Bonne continuation sur le 2eme castellan.
Oui tout à fait. C'était dans mes références du premier article, tous les équipements d'exploration spatiale modernes.
SupprimerOui j'ai commandé cette feuille. C'est pour du jet d'encre, si tu as une imprimante laser il faut un autre modèle, et le rendu sera mieux :
https://www.ebay.co.uk/itm/Water-Slide-Decals-WaterSlide-Transfer-Paper-A4-Inkjet-Clear-or-White-Lot-/232322269621?_trksid=p2349624.m46890.l49286
A+!
--
morbäck
Protocole à réaliser après une opération contre... :
RépondreSupprimer* des orks : netoyage complet afin de se débarasser des spores
* des représentants de Tzeentch : vérification et réinitialisation complète du système.
* des représentants de Nurgle : decontamination complète et réparations éventuelle.
* des maïnoks : envoyer des skitaris, des soeurs de bataille ou des gardes impériaux (selon ce qu'on a sous la main) les récupérer avant qu'ils ne se fassent complètement désosser.
Haha, je ne m'attendais pas à entendre parler des Maïnoks! Excellent !
Supprimer--
morbäck
Ce commentaire a été supprimé par un administrateur du blog.
RépondreSupprimerMassive fan of these, and your part 1!
RépondreSupprimerI'm curious - you don't appear to use any washes or recess shading. Was this intentional, or am I misreading the steps?
Also, how did you achieve the "moon-like" base? Looks like you have a crater on one of them.
Thanks Captain Betts!
RépondreSupprimerIf I remember well, I did a lining with Apothecary white in the recesses. But most of the shading is generated by the 2 tones spray.
The craters are actually cut in the base and sculpted with wood putty.
Cheers!